
All Kadence Themes have the same initial setup and install. To view these steps, head over here. Then when complete head back here for your theme specific tutorials.
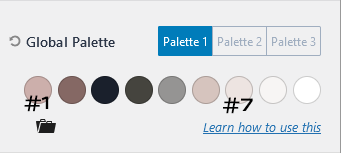
IMPORTANT Color Palette Notes
Hello Iris has custom code that adds line acents and a navigation underline. Because you can not adjust this directly in your editor we have tied it to the #1 & #8 spot in your color palette. Keep this in mind when choosing your specific colors.
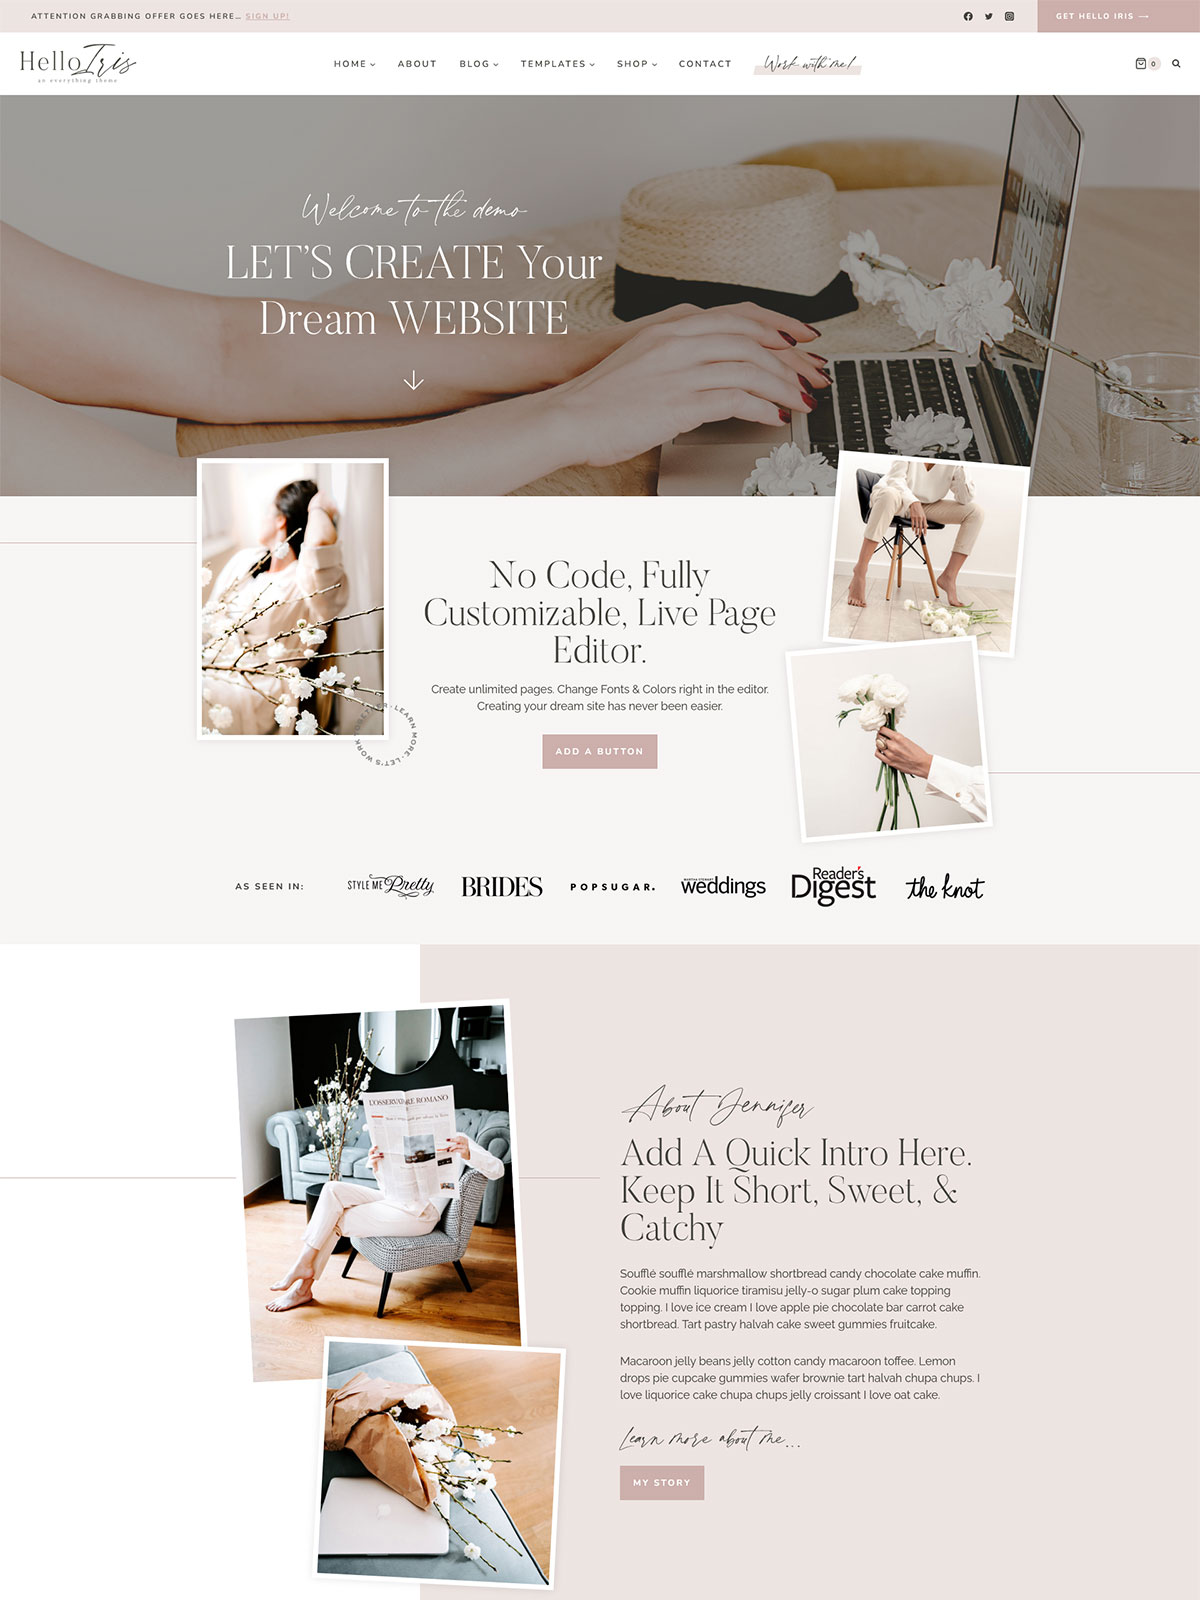
MEET JENNIFER
Advanced Styling Options
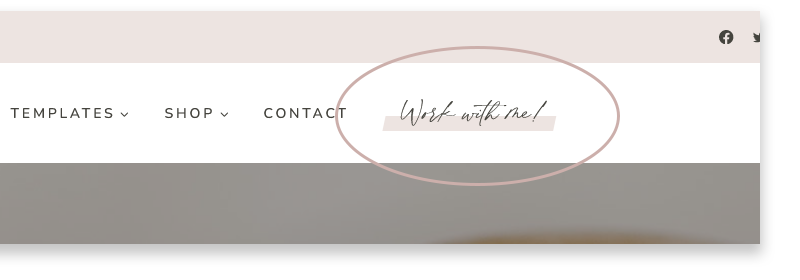
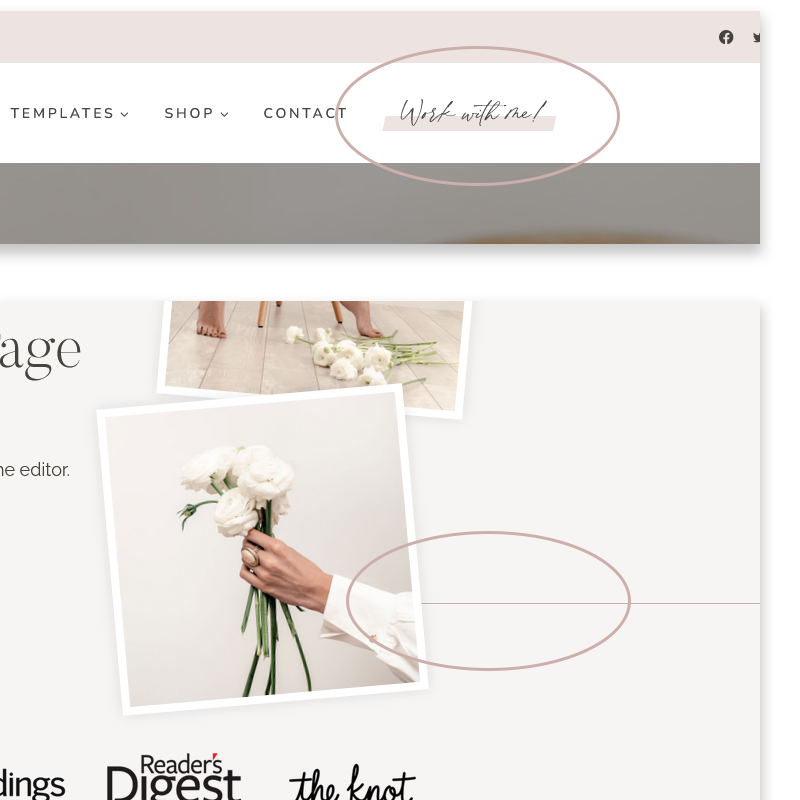
Turn any navigation item into script with an underline.
STEP 1 – Go to Appearance > Menus > Find the menu and menu item you would like to add this styling to
STEP 2 – Open the menu item up, and in the CSS Classes add iris-nav
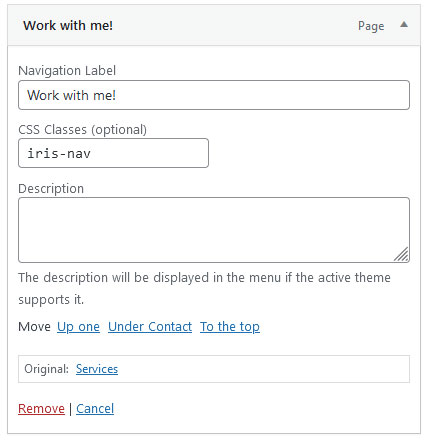
** If you do not see the CSS Classes option, then you must enable it. In the top right corner is “Screen Options” click that and then from the dropdown select CSS.

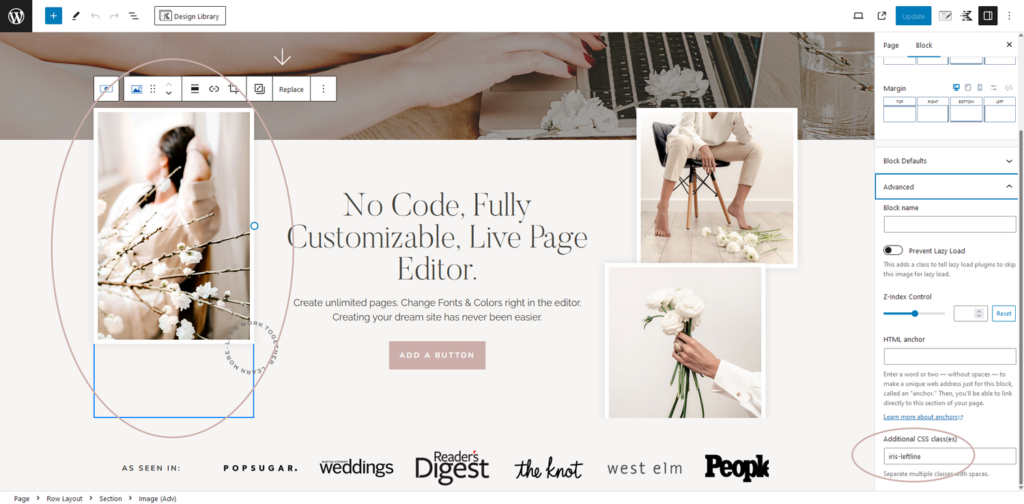
You can add left or right lines to any image, or section. You can also remove these from the block sections if you do not want them.
**You will not see the lines in the editor, only live page view
STEP 1 – Click the Image, or Container you want the line to go on.
STEP 2 – Over in the editor on the right, click the “Advanced” tab and scroll down to Additional CSS.
STEP 3 – In the additional CSS spot choose the type of line you want. Options below.
Line Options
iris-leftline – left line at the top of the image or container
iris-rightline – right line at the bottom of the image/container
iris-rightline-top – right line at the top of the image/container
To Remove Styling: Follow the steps above, then delete the line code in the additional css spot.
Rotate any image by adding iris-rotate to the Additional CSS spot in the theme.
STEP 1 – Click the Image you want to roate
STEP 2 – Over in the editor on the right, click the “Advanced” tab and scroll down to Additional CSS.
STEP 3 – Add iris-rotate to the additional CSS spot
Angle Text right or left
STEP 1 – Click the text you want to angle
STEP 2 – Over in the editor on the right, click the “Advanced” tab and scroll down to Additional CSS.
STEP 3 – Add the angle code to the additional CSS spot
iris-ltextangle – Rotates left 10 degrees
iris-rtextangle – Rotates right 10 degrees
You may need to also modify the margins of the text in the editor depending on the wording being angled.
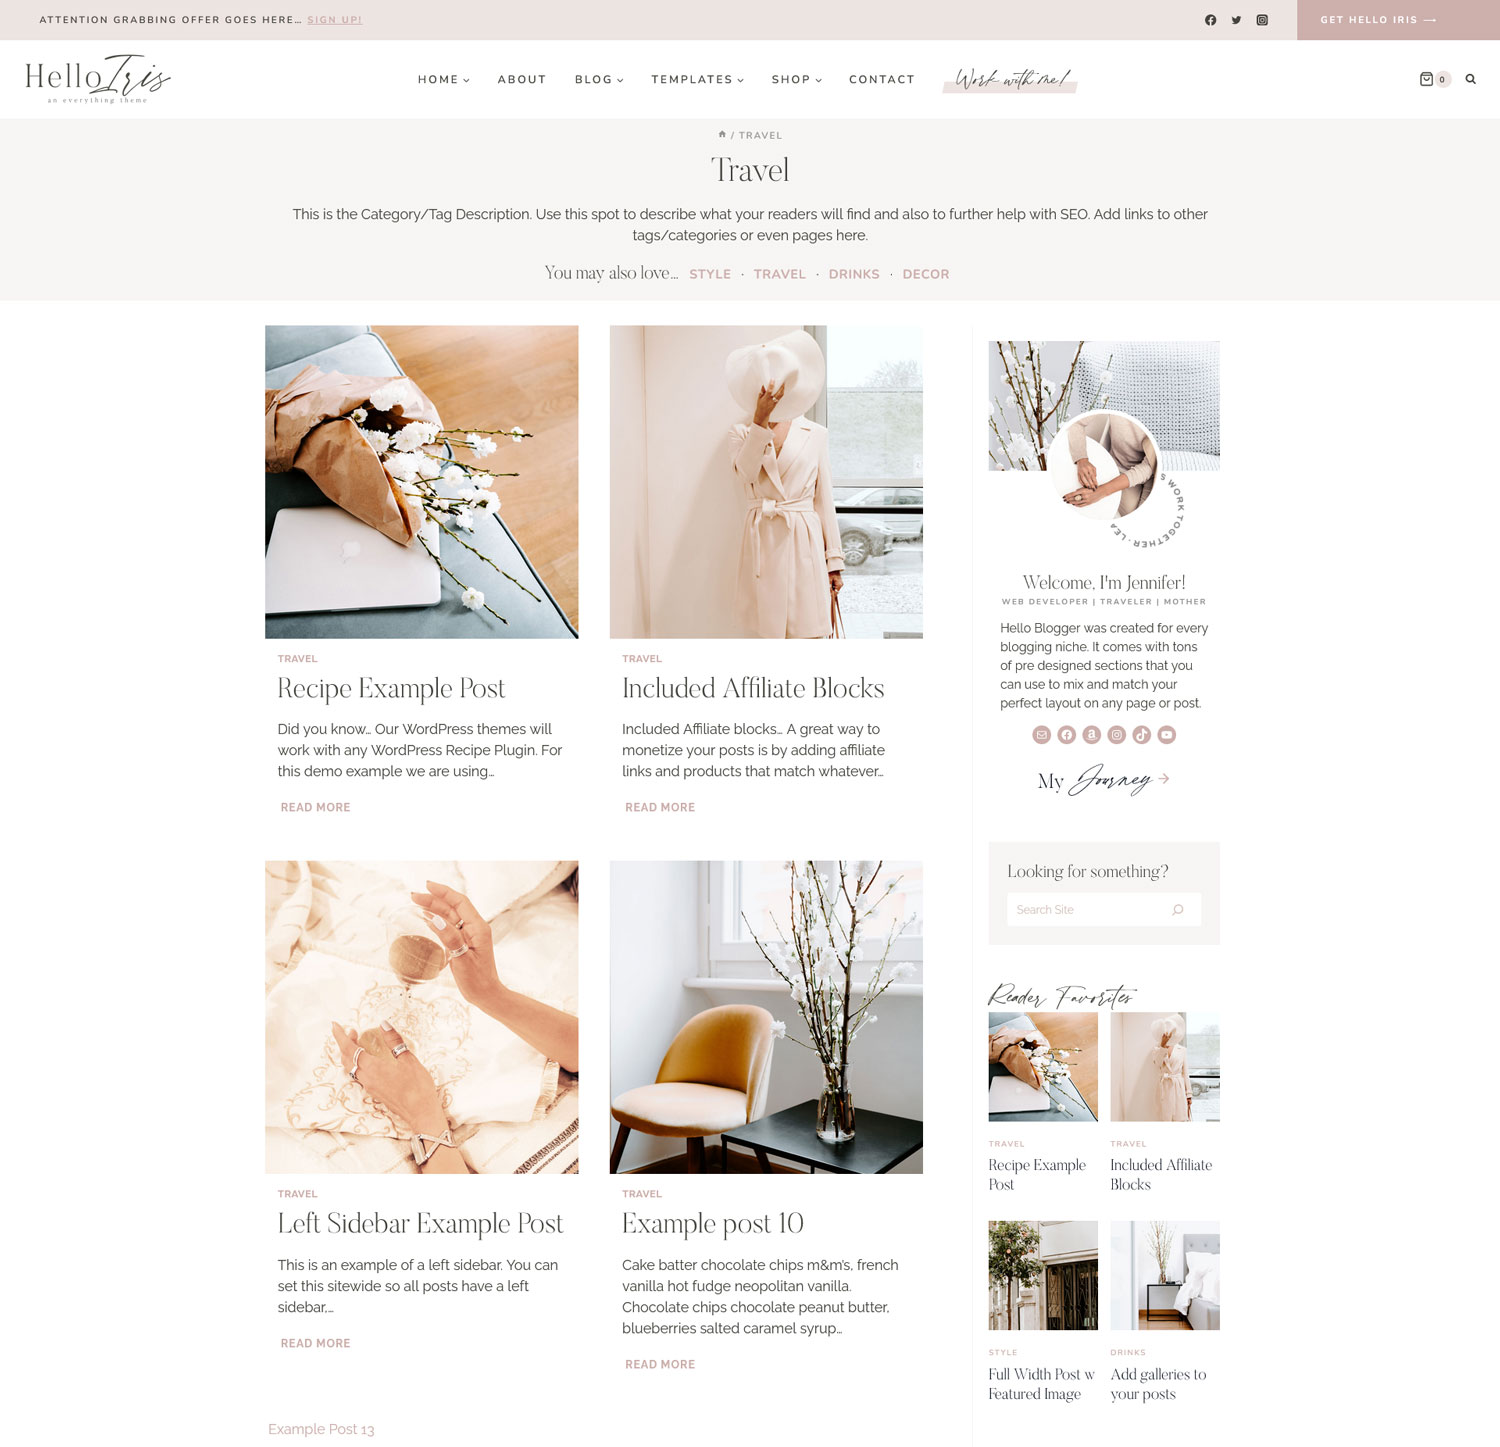
Category & Tag Archives
You can create a custom description for both your Category and Tag archives. The theme allows HTML in the description spot.
Step #1: Go to Posts > Click on Categories or Tags > Then click Edit on the archive you want to add a description to.
Step #2: In the Description box, add your description. If you would like to add links, it will need to be with HTML. The Span below will default to your header font and the links to your Primary Navigation font. Copy/paste as many of these as you like.
Title: You may also love….
<span>You may also love...</span> The Link code: Notice the · at the end. Remove for your last item, or change to something different for a spacer.
<a href="YOUR LINK GOES HERE"> Dessert </a> · Full Demo Code:
<span>You may also love...</span> <a href="YOUR LINK HERE"> Dessert </a> · <a href="YOUR LINK HERE"> Dinner </a> · <a href="YOUR LINK HERE"> Drinks </a>
Site Credit
Many of you are signed up as an affiliate for the theme shop. We have included a Site Credit template to help with this. You can link this page in your footer, then change the button, and other links to your affiliate link.
If you are not already signed up as an affiliate and would like to be, you can do so here. We can also create a unique coupon code with your name, or blog name.
General Tips For All Kadence Themes
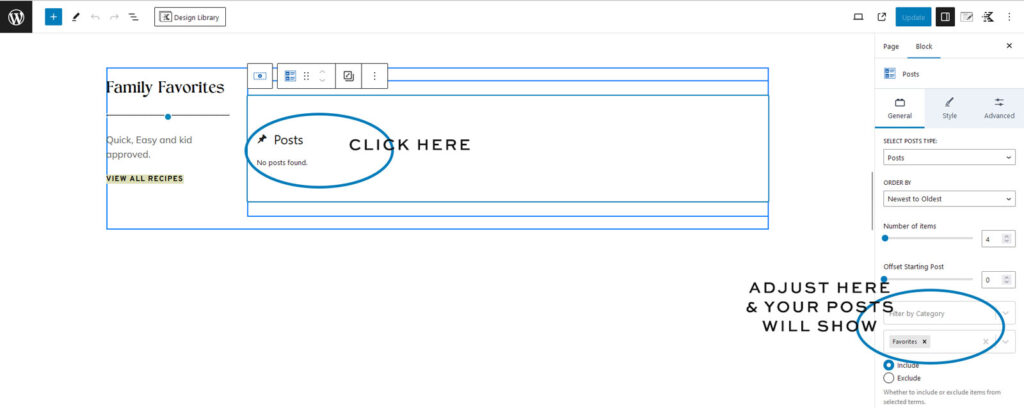
No Posts Found
Import Issue
This happens, when permalinks do not match up. Running the demo import again will not fix it. This is okay though, because you need to change each block to match your post categories or tags. The Fix: go to any block that has “No Posts” click on it and then over in the right of the editor, choose what category or tag you want to show.