
All Kadence Themes have the same initial setup and install. To view these steps, head over here. Then when complete head back here for your theme specific tutorials.
IMPORTANT Color Pallet Notes
The Beaches theme has code that adds additional styling to elements not available in the Kadence Editor. The colors for the styling is pulled from your color Pallet. When designing the site, you will want to be sure to select colors for these spots that make sense with your branding and overall design.
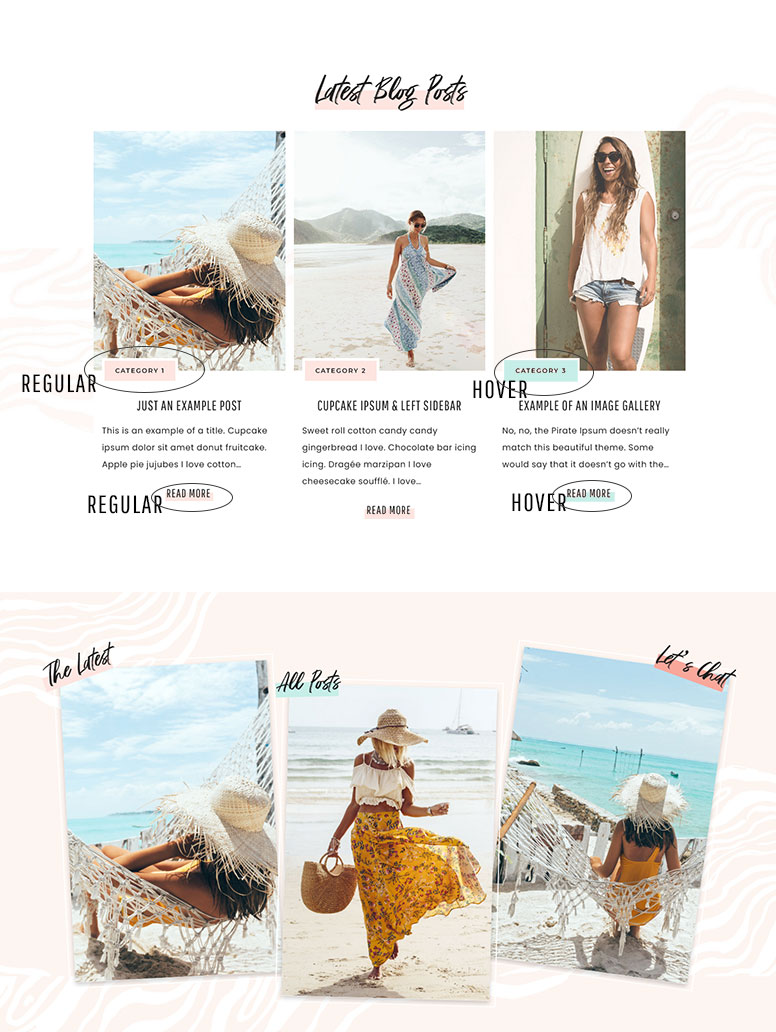
BLOG CATEGORIES – #2 & #1 Hover
Read More Buttons – #2 & #1 Hover
Light Pink Underline – #2
Teal Underline – #1
Dark Pink Underline – #5
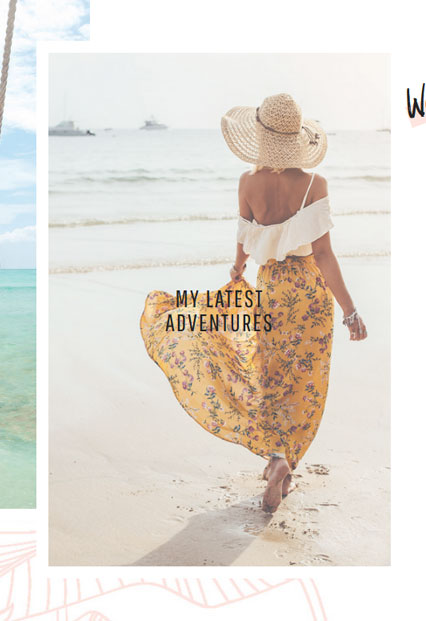
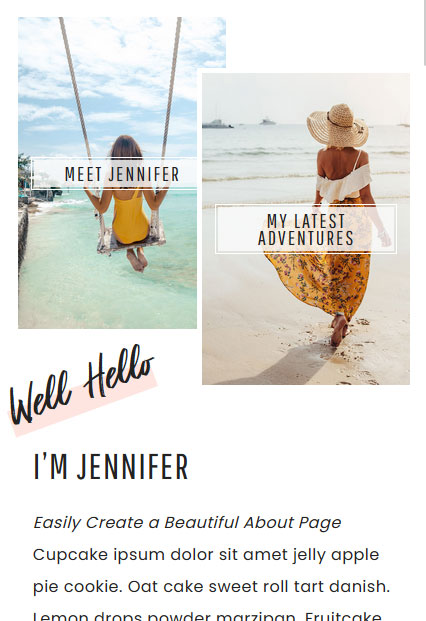
MEET JENNIFER
Advanced Styling Options
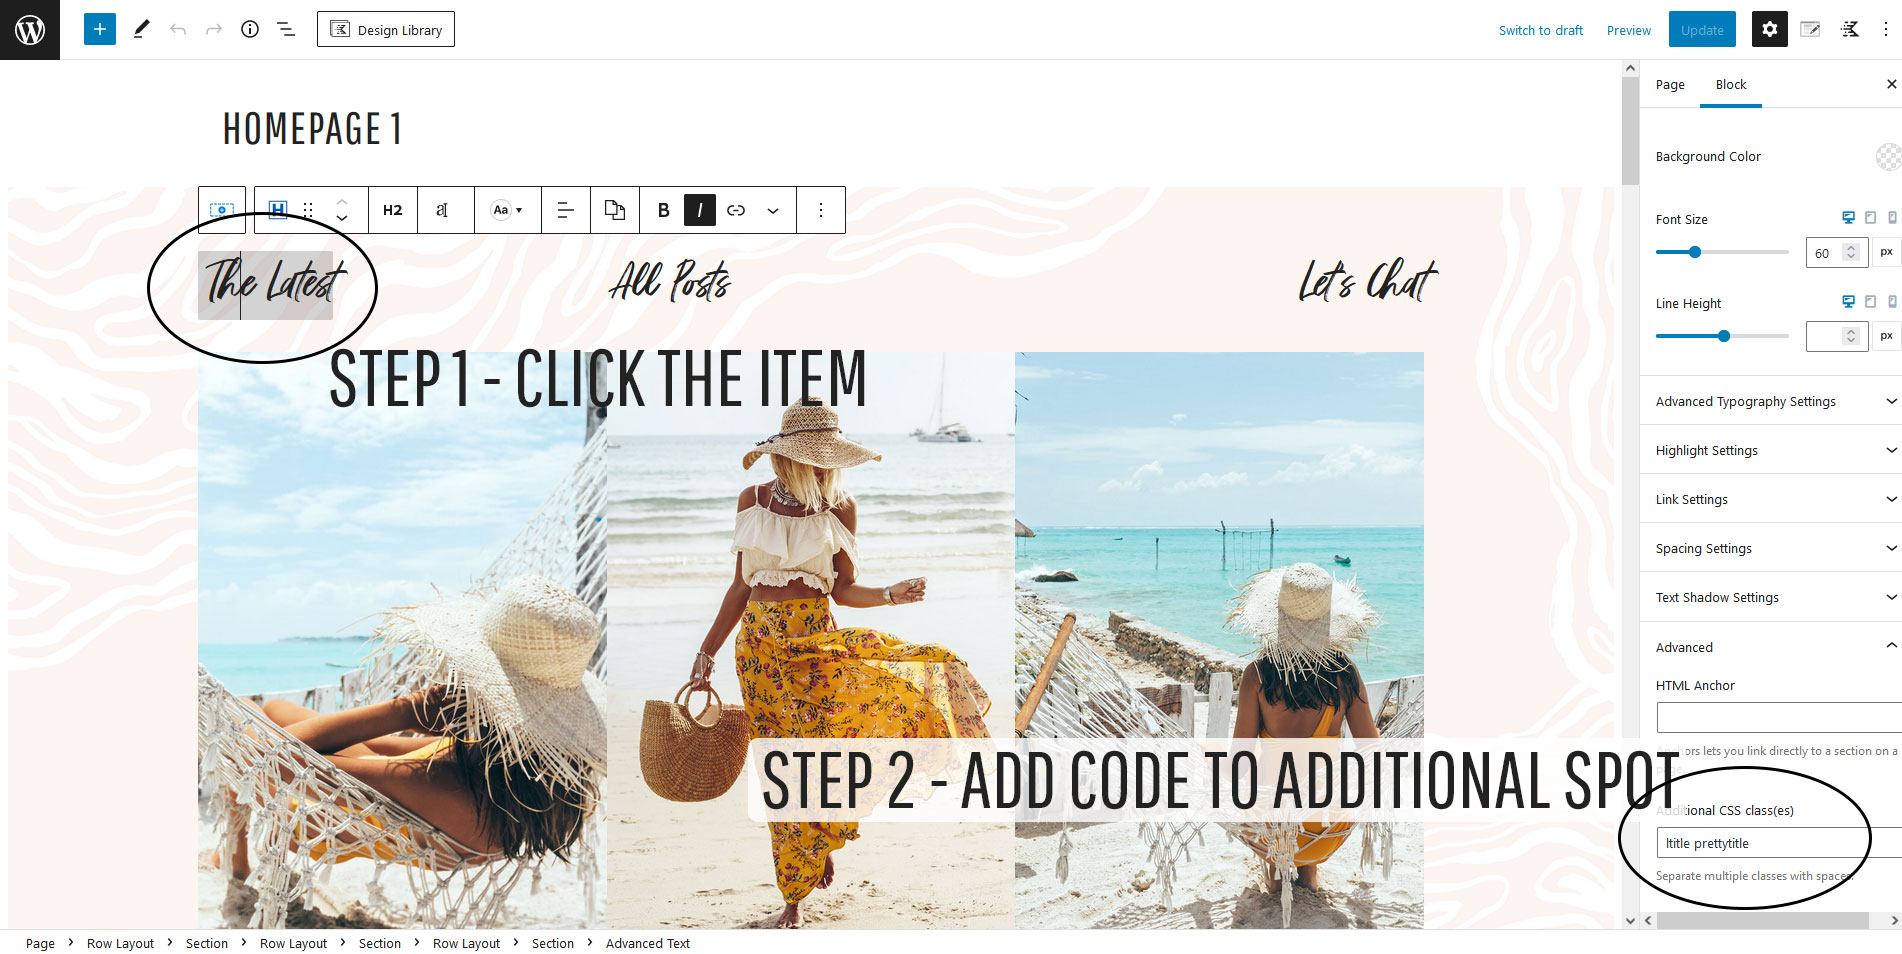
To use any of these options, you click on the item/block/img that you want to add the styling to, then on the right in the editor, scroll down to the Advanced Tab and add your code to the Advanced CSS Spot.
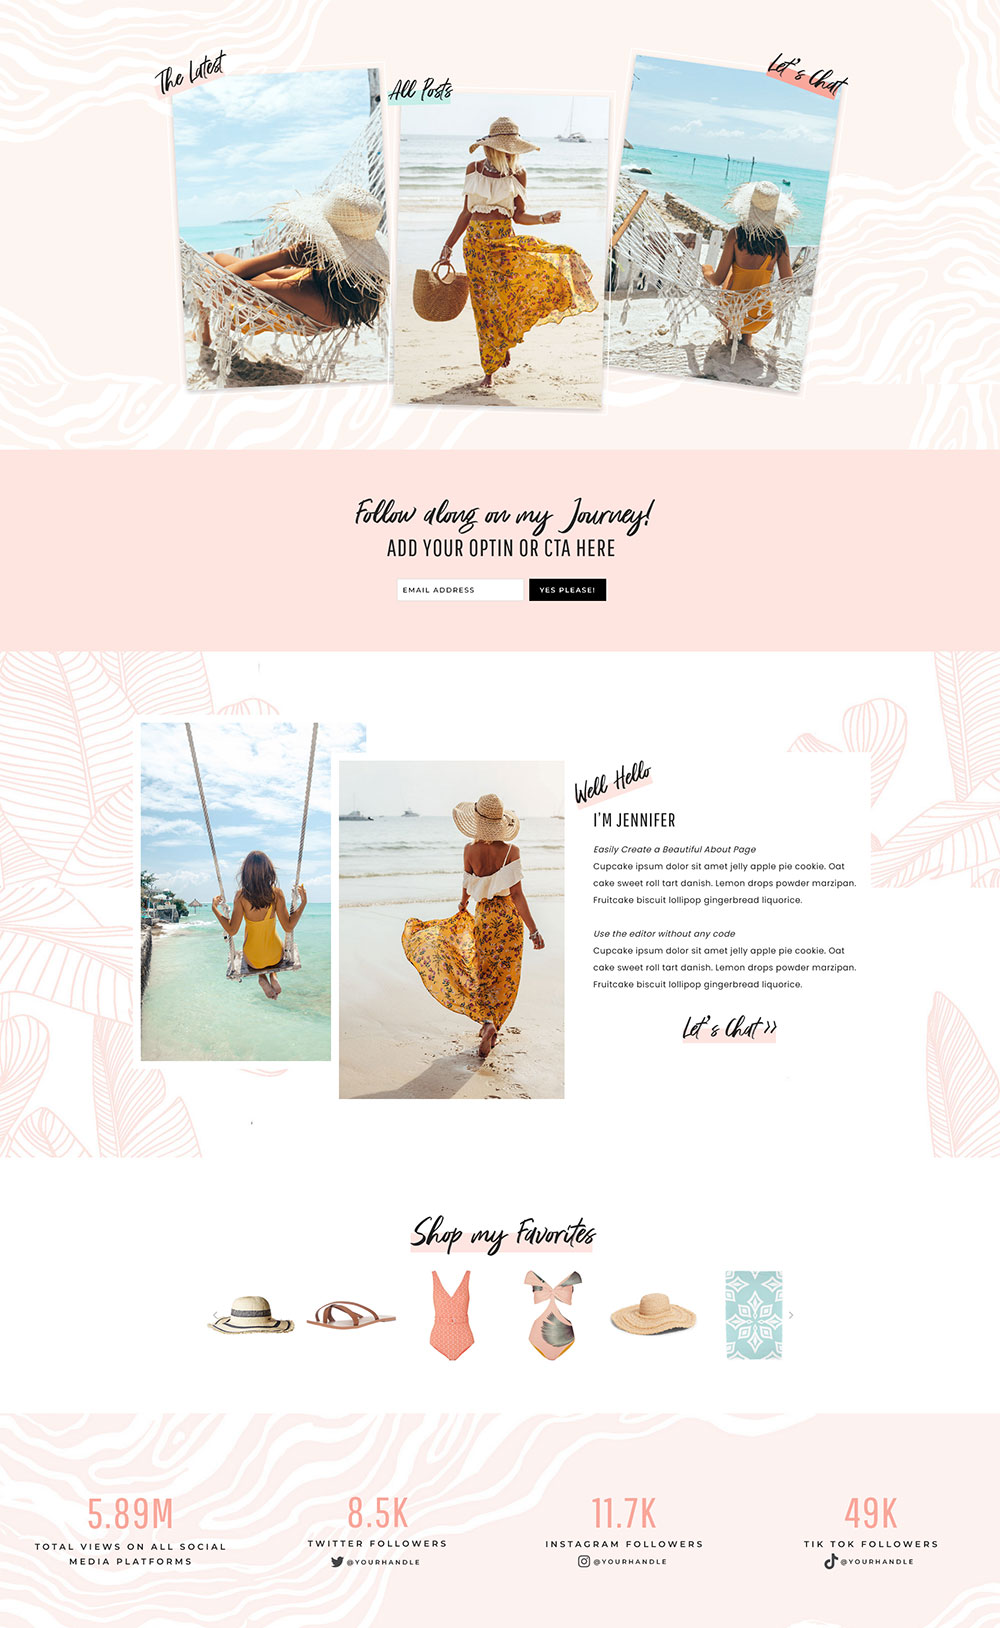
You can angle a title either right or left. Keep in mind that this is for spots that will use shorter wording. Add the bold wording to your Advanced CSS to angle it.
STEP 1 – Add some text, either above an image, or in a text block. You can use any heading, or body text styling.
STEP 2 – Choose the wording alignment. Example…You can have a left aligned title, but tilt it right. Or you can choose a right align title to tilt right, so it sits at the back edge of an image.
STEP 3 – Add the Advanced CSS code.
ltitle – will angle the wording left
rtitle – will angle the wording right
STEP 4 – Depending on the size and use, you may need to adjust the font size down on mobile devices. To do this, click on the text, then click on the mobile icon in the editor where the font sizing is listed and adjust to the desired size. Be sure to look on a live device as the editors mobile view can be deceiving.
You have 3 options, Light Pink, Teal, Dark Pink. These colors will automatically adjust based on the colors you assign in the color pallet. These title options are coded into your theme and will only pick up the assigned number colors.
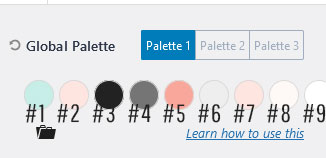
Light Pink – #2
Teal – #1
Dark Pink – #5
STEP 1 – Add some text, either above an image, or in a text block. You can use any heading, or body text styling.
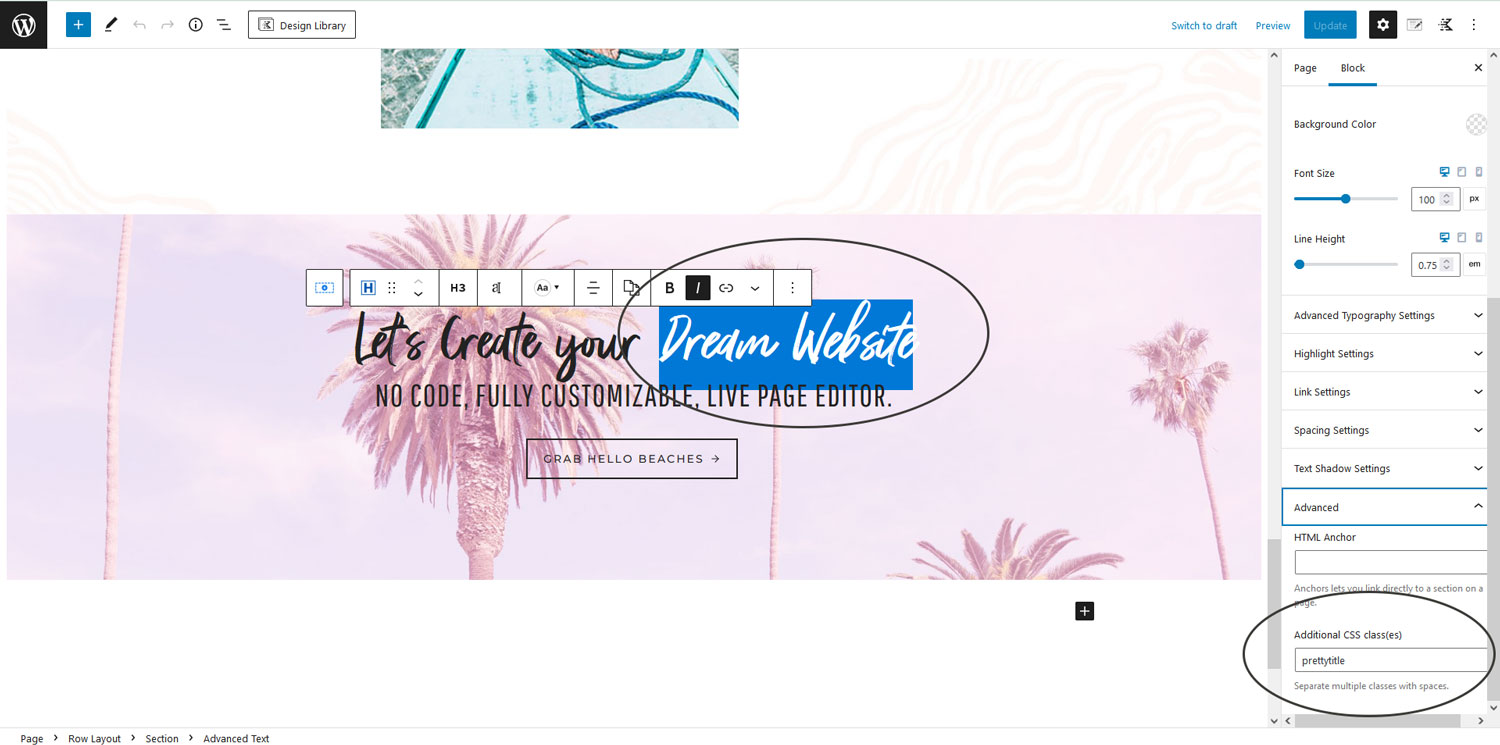
STEP 2 – This is important, or your underlined title will not work. Select the wording that you want the underline to show on, then select I from the styling options.
STEP 3 – Add the color title you want to use in the Advanced CSS spot.
prettytitle – Light Pink
bprettytitle – Teal
dpprettytitle – Dark Pink
FINISHED LOOK

You can add a pretty zoomed hover effect to any image on the site.
STEP 1 – Add an Image Block or an Advanced Gallery Block. Then add your image.
STEP 2 – Click the image, Add the code to your Advanced CSS Spot
prettyhover
You have a few different image borders that can be added. A normal border can also be added right in the editor, without having to add the Advanced CSS code.
STEP 1 – Add an Image Block or an Advanced Gallery Block. Then add your image.
STEP 2 – Click the image, Add the code to your Advanced CSS Spot
wborder – 15px white border
tborder – 10px white border
whtborder – Thin 2px offset white border
To remove any of the above styling is the same as adding. Click the item, then go to the Advanced tab and simply delete the code added.
Captions
To add a caption to any image that will show on hover take these steps.
STEP 1 – Add your Advanced Gallery Image and set it up to display like you would like.
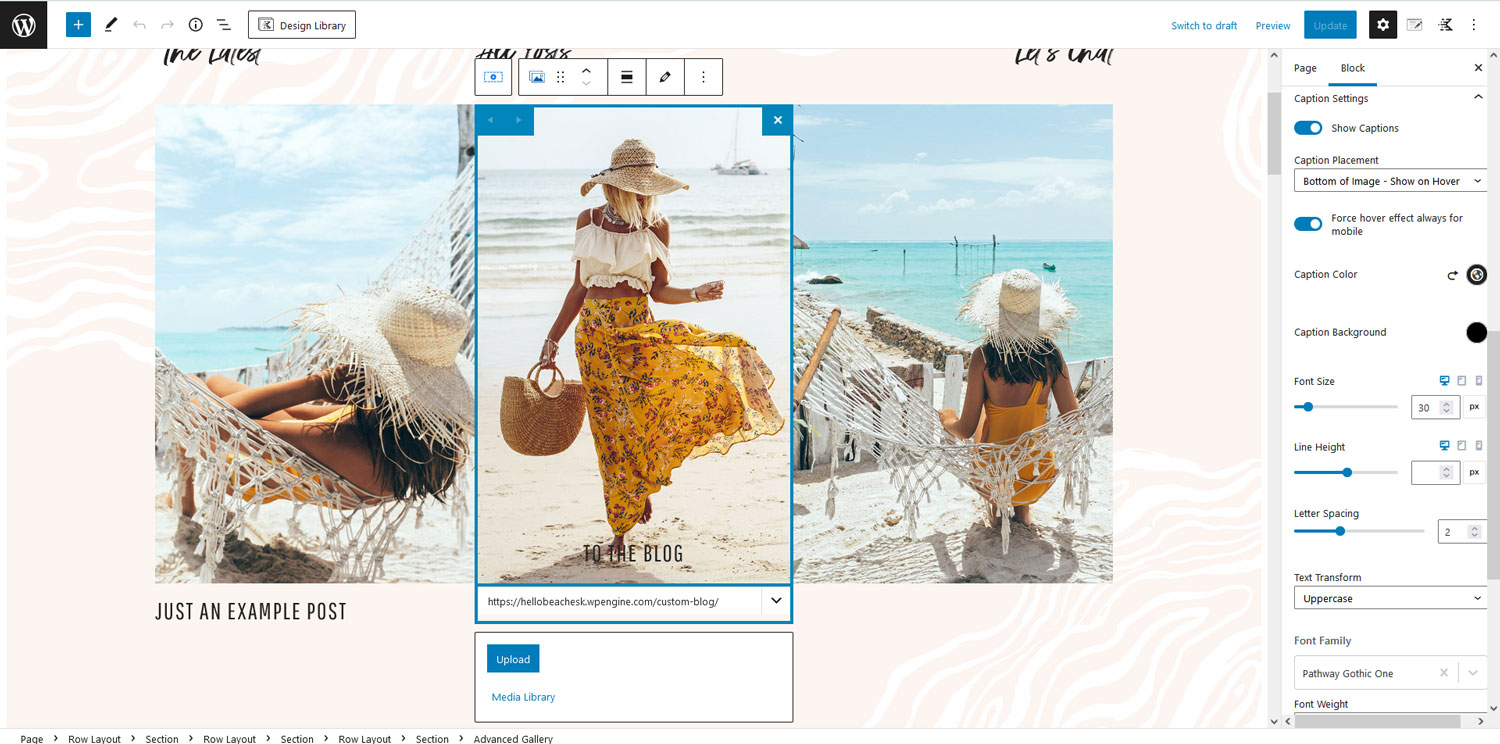
STEP 2 – Select your image and over on the right go to the Captions Tab. In the settings Select the Show Captions option. Then for Caption Placement – Bottom Image Show on Hover. If you want the captions to show on mobile, select Force Hover Effect Always for Mobile. Adjust your Font size and font. You will also want to adjust it for mobile by clicking the phone option and changing that to 12-14, or smaller depending on how wordy the caption is.
STEP 3 – Over on the image you can add your caption wording now. In the example below it is where it says TO THE BLOG. You can also enable links over in the settings if you would like that caption to link to a page.
To remove the captions on mobile so they do not show, go to the image and click on it to open the settings for that image on the right. Then open the Captions Tab and turn off “Force Hover Effect Always for Mobile”