

All Kadence Themes have the same initial setup and install. To view these steps, head over here. Then when complete head back here for your theme specific tutorials.
MEET JENNIFER
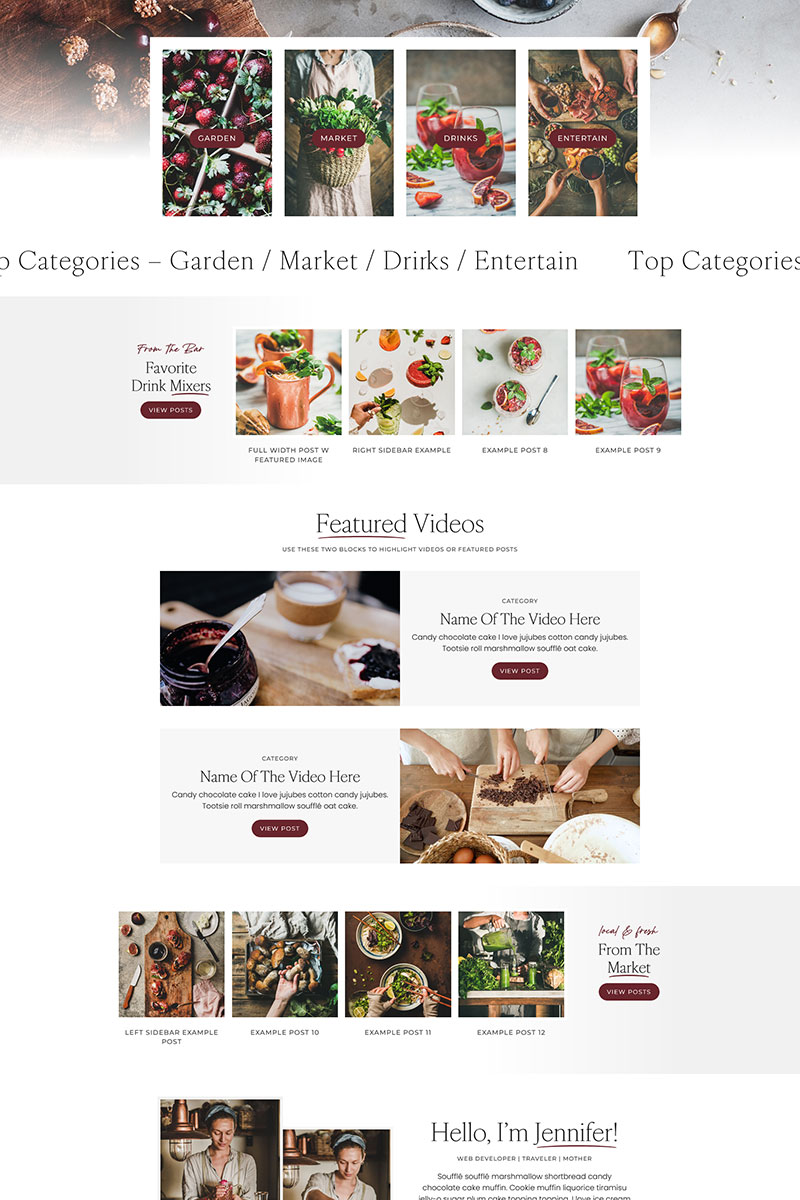
Styling Options
Add an underline swoosh to any wording in Willow
STEP 1 – Highlight the wording you want to have the swoosh, and make it italic
STEP 2 – Over in the editor on the right, click the “Advanced” tab and scroll down to Additional CSS.
STEP 3 – Add swoosh to the additional CSS spot. For a White Swoosh use swoosh-white
* The swoosh color is set to automatically be color 1 in your palette. Or color 9 for white.
To change the buttons to square go to the Customizer > Colors & Fonts > Buttons. If you scroll down you will see Border Radius. Set that to 0 for square edge buttons.
Turn any navigation item into script with an underline.
STEP 1 – Go to Appearance > Menus > Find the menu and menu item you would like to add this styling to
STEP 2 – Open the menu item up, and in the CSS Classes add willow-nav
** If you do not see the CSS Classes option, then you must enable it. In the top right corner is “Screen Options” click that and then from the dropdown select CSS.


Site Credit
Many of you are signed up as an affiliate for the theme shop. We have included a Site Credit template to help with this. You can link this page in your footer, then change the button, and other links to your affiliate link.
If you are not already signed up as an affiliate and would like to be, you can do so here. We can also create a unique coupon code with your name, or blog name.