Setting up the Testimonial Rotator
Each Everything theme comes with a Testimonial Rotator option. For this we use the Testimonial Rotator Plugin There are many ways you can configure this plugin to work with your theme. Below are how all of our demos are set up.
Step 1
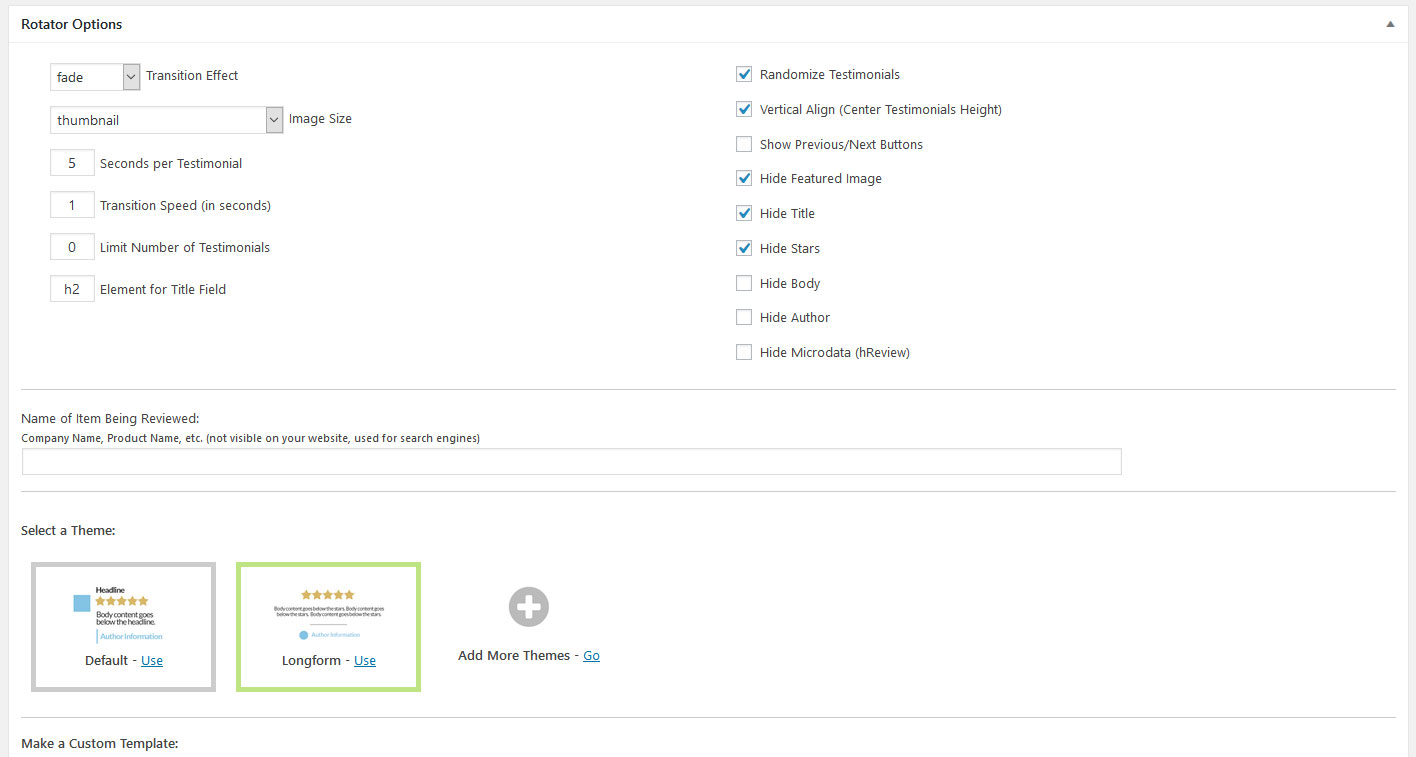
Go to Testimonials in the dashboard and click “Add Rotator” Be sure to then name your rotator and select the options you would like for that rotator. We named ours “Home Page” and below are what most of the demos are set up with. The only change is we may show the stars on some and the featured images. Once you have your options, be sure to click Save.
Step 2
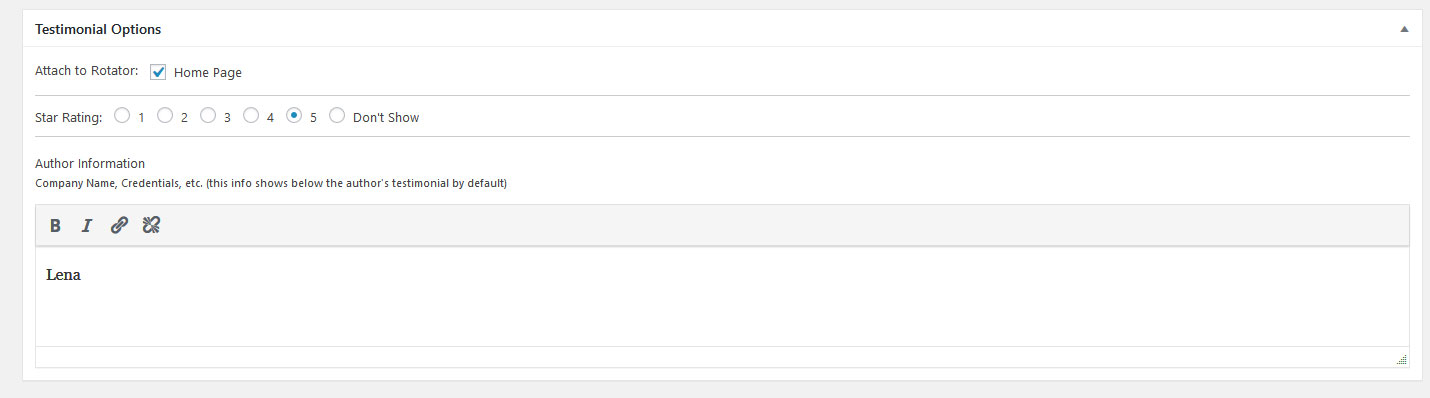
Go To Testimonials again and click “Add New” Now you will create your Testimonial that will show up in the Rotator you just created. Down where it says “Testimonial Options” it is very important that you check the “Home Page” box if you would like this testimonial to show up in the rotator you just created.
Step 3
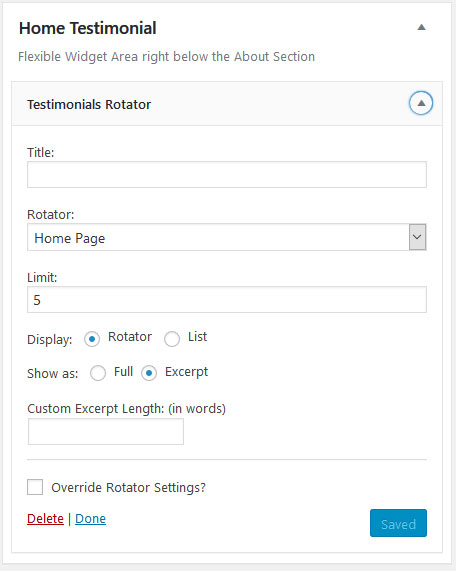
After you have created all of your testimonials and saved them to the “Home Page” rotator you now can add it to your widget area. Go to Appearance > Widgets > locate the widget you would like it to show in and you have two options to add it. You can use a custom HTML widget and paste the rotator shortcode to it. Or use the Testimonial Widget and assign the rotator to it. We also recommend that you choose to show Excerpts so everything is even and consistent if your testimonials are long or vary in length.